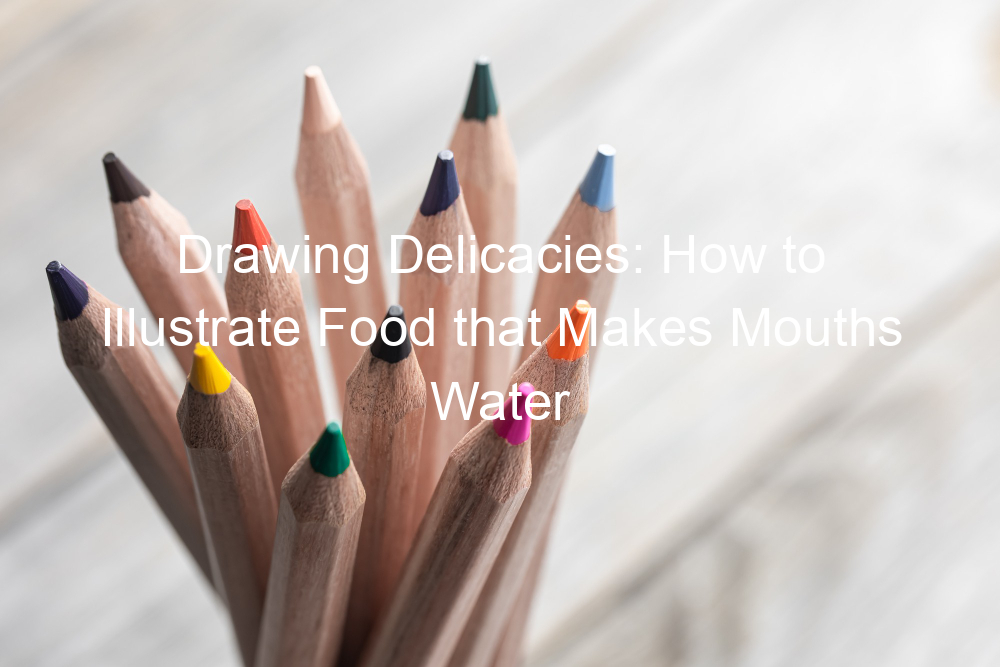
Introduction to Food Illustrations
Welcome to the fascinating world of food illustrations! This art form is not just about drawing a plate of food. It’s about capturing the essence, the aroma, the texture, and the taste of the dish in a visual format. It’s about making your mouth water just by looking at the picture. So, let’s dive in and explore this exciting art form.
-
- Understanding the art of food sketching
Food sketching is an art form that requires a keen eye for detail and a deep understanding of food. It’s not just about drawing what you see, but also about capturing the essence of the food. The texture, the color, the way the light hits the food, all these details need to be taken into account. It’s like telling a story, but instead of words, you use lines, shapes, and colors.
For example, when sketching an apple, you don’t just draw a round shape. You observe the apple, its color, the way the light reflects off its skin, the tiny imperfections that make it unique. Then, you translate all these observations into your sketch, making it as realistic and appealing as possible.
-
- The importance of food illustrations in today’s world
Food illustrations play a crucial role in today’s world. They are used in cookbooks, magazines, advertisements, menus, and even on food packaging. They help to convey the taste and texture of the food, making it more appealing to the consumer.
Moreover, food illustrations are also used in educational materials to teach children about healthy eating habits. They make learning fun and interactive, helping children to understand the importance of a balanced diet.
Furthermore, in the era of social media, food illustrations have gained even more popularity. They are used to create engaging content, attract followers, and promote food-related businesses. So, whether you are a professional illustrator, a food blogger, or just a food lover, learning food sketching can be a valuable skill.
Sketching Techniques for Drawing Food
Sketching food is an art that requires a keen eye for detail and a good understanding of basic drawing techniques. In this section, we will explore some fundamental sketching techniques that will help you create realistic and appealing food illustrations.
Basic Sketching Techniques
Before we delve into the more complex aspects of food illustration, it’s essential to master the basics. Here are two fundamental sketching techniques that every artist should know:
-
- Understanding Shapes and Proportions
Every object, including food, can be broken down into basic shapes. A loaf of bread, for example, can be seen as a combination of rectangles and ovals. Understanding this concept is the first step towards creating accurate sketches. Start by observing the food item carefully and identifying the basic shapes that make up its structure. Once you have a clear idea of these shapes, sketch them out, keeping the proportions accurate. Remember, the key to a realistic sketch is getting the proportions right.
-
- Shading and Texturing Techniques
Shading and texturing are what bring a sketch to life. They add depth and dimension to your drawings, making them look more realistic. Shading involves varying the pressure on your pencil to create different tones, from light to dark. This helps to show the form and depth of the object you’re drawing. Texturing, on the other hand, involves creating the illusion of a particular surface. For example, the rough texture of a bread crust or the smooth surface of an apple. Practice different shading and texturing techniques to enhance your food sketches.
Mastering these basic sketching techniques will provide a solid foundation for your food illustrations. In the next section, we will delve into more advanced techniques to further enhance your skills.
Advanced Sketching Techniques
Now that we’ve covered the basics, let’s dive into some more advanced sketching techniques. These methods will help you add depth and realism to your food illustrations, making them even more appealing and mouth-watering.
- Creating Depth and Perspective
Creating depth and perspective in your sketches is like adding an extra dimension to your artwork. It makes your food illustrations look more realistic and three-dimensional.
One way to create depth is by using a technique called linear perspective. This involves drawing objects smaller as they get further away. For example, if you’re sketching a long dining table filled with dishes, the plates at the far end of the table should be smaller than those at the front.
Another method is atmospheric perspective, where objects lose detail and color as they recede into the distance. This technique can be used when sketching a landscape with food, like a vineyard or an orchard.
Remember, practice makes perfect. So, don’t be discouraged if your first few attempts don’t turn out as expected. Keep trying, and you’ll get the hang of it!
- Adding Details for Realism
Details are what make your food illustrations come alive. They add a touch of realism and make your sketches more appealing.
Start by observing the food you’re about to sketch. Notice the tiny details – the texture of a bread crust, the shine on an apple, the crinkles on a lettuce leaf. Then, try to incorporate these details into your sketch.
Don’t forget about the surroundings too. The plate, the tablecloth, the cutlery – these all add context to your food illustration and make it more realistic.
Adding details might seem time-consuming, but it’s worth the effort. The more details you add, the more realistic your food illustrations will look.
Remember, the key to mastering these advanced sketching techniques is practice. So, grab your sketchbook and start drawing!
| Technique | Description |
|---|---|
| Linear Perspective | Drawing objects smaller as they get further away to create depth. |
| Atmospheric Perspective | Objects lose detail and color as they recede into the distance. |
| Adding Details | Incorporating small details to add realism to your sketches. |
Artistic Food Representation
Artistic food representation is an exciting aspect of food illustration. It involves using various techniques to express the essence of the dish and using color to enhance its appeal. Let’s delve into these two key components.
- Expressing the Essence of the Dish
Every dish has a unique character and flavor that sets it apart. As an illustrator, your job is to capture this essence and translate it into your artwork. It’s not just about drawing a plate of food; it’s about conveying the dish’s personality and making it come alive on paper.
For instance, if you’re illustrating a spicy curry, you might want to use warm colors and dynamic lines to express its fiery nature. On the other hand, a cool, refreshing salad might be best represented with crisp lines and cool, vibrant greens.
- Using Color to Enhance the Appeal
Color plays a crucial role in food illustration. It can make a dish look appetizing and inviting, or dull and unappealing. The right color choices can make your illustrations pop and draw the viewer’s attention.
Consider the colors of the actual dish and think about how you can enhance them in your illustration. For example, if you’re drawing a bowl of tomato soup, you might want to use different shades of red to highlight the soup’s richness and depth of flavor.
Remember, color is not just about accuracy; it’s also about evoking emotions and setting the mood. So, don’t be afraid to get creative and experiment with different color palettes.
Artistic food representation is all about capturing the essence of the dish and using color to enhance its appeal. By mastering these techniques, you can create stunning food illustrations that not only look good but also tell a story.
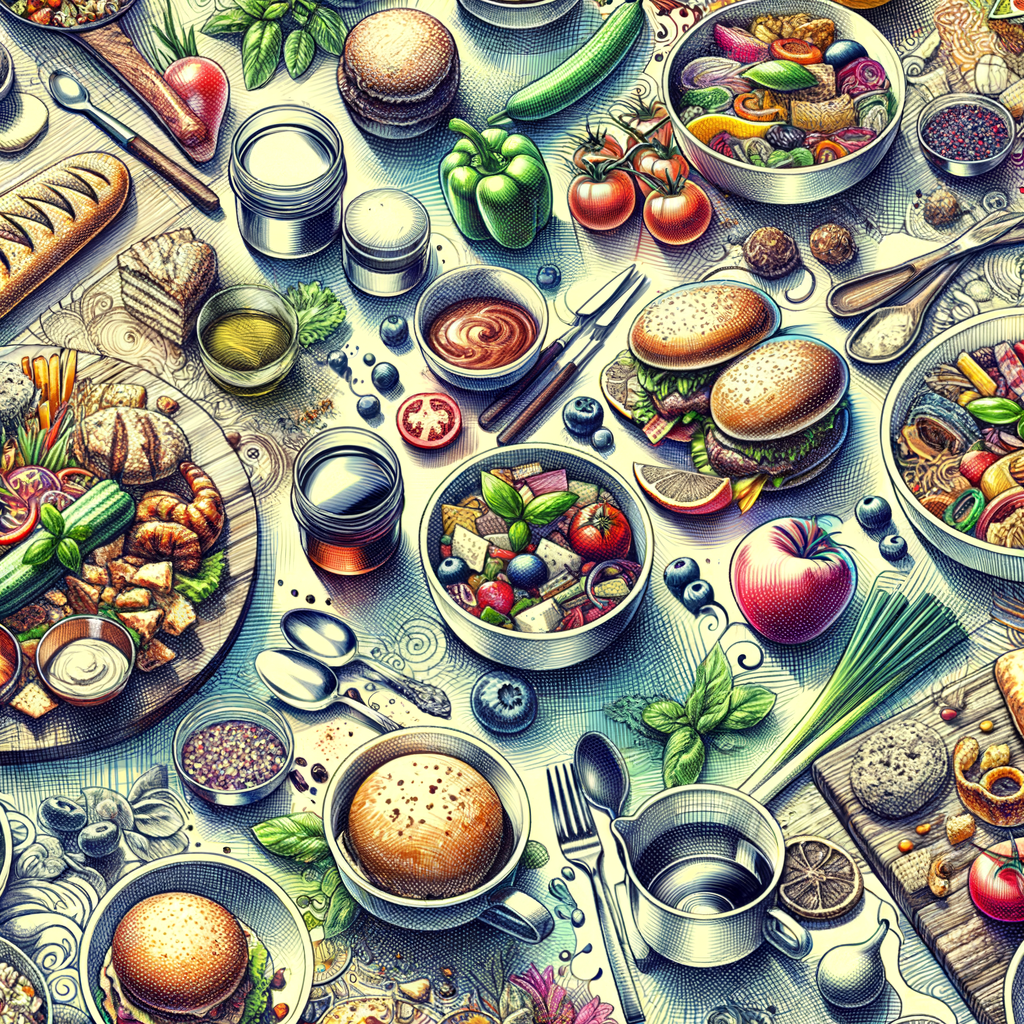
Illustrating Mouthwatering Dishes
Creating illustrations of food that are so lifelike they make your mouth water is a skill that can be learned with practice. The key is to focus on the details that make food look appetizing. This includes using lighting to create a mouthwatering effect and illustrating texture to make the food look appetizing.
Creating Food Art
Food art is a fascinating field that combines the culinary and artistic worlds. It involves creating visually appealing representations of food that can make viewers’ stomachs rumble with hunger. There are two main techniques that can help achieve this effect: using lighting and illustrating texture.
- Using lighting to create a mouthwatering effect: Lighting plays a crucial role in food illustration. It can highlight the freshness and juiciness of the food, making it look more appealing. For example, a well-lit illustration of a juicy apple can make it look so fresh and delicious that viewers can almost taste it. To master this technique, practice drawing different food items under various lighting conditions. Observe how light reflects off different surfaces and try to capture that in your illustrations.
- Illustrating texture to make the food look appetizing: Texture is another important aspect of food illustration. The texture of food can greatly influence how appetizing it appears. For instance, the flaky crust of a pie or the smooth creaminess of a pudding can make a dish look irresistible. To illustrate texture effectively, pay close attention to the details. Notice how the surface of the food changes under different lighting conditions and try to replicate that in your drawings.
Mastering these techniques can take some time and practice, but the results are worth it. With the right approach, you can create food illustrations that are so mouthwatering, viewers might find themselves reaching for a snack!
Culinary Illustrations
Illustrating food is an art that requires a keen eye for detail and a deep understanding of the subject. It’s not just about drawing an apple or a slice of pizza; it’s about capturing the essence of the food, its textures, colors, and even its taste, in a way that makes the viewer’s mouth water. Let’s delve into some useful tips to improve your culinary illustrations.
Food Drawing Tips
Here are a couple of tips that can help you improve your food drawing skills:
-
- Observing real food for better illustrations
One of the best ways to improve your food illustrations is by observing real food. Look at the way light reflects off a shiny apple, or the way a piece of bread tears apart. Notice the colors, the textures, and the shapes. The more you observe, the better you’ll be able to capture these details in your drawings.
-
- Practicing different types of food
Just like with any other skill, practice makes perfect. Try drawing different types of food, from fruits and vegetables to baked goods and meats. Each type of food presents its own challenges and will help you improve your skills. Remember, it’s not about creating a perfect drawing, but about understanding the food and improving your ability to represent it.
These tips are just the starting point. The world of culinary illustrations is vast and full of possibilities. So grab your sketchbook and start exploring!
Table of Key Insights
| Key Insight | Description |
|---|---|
| Observation | Observing real food helps capture the essence of the food in your drawings. |
| Practice | Practicing different types of food helps improve your drawing skills and understanding of the food. |
Techniques for Sketching Food
Sketching food is an art that requires a keen eye for detail and a deep understanding of the subject. Let’s delve into some techniques that professional illustrators use to bring food to life on paper. We will also explore some successful food illustration projects to inspire you.
Case Studies
-
- How Professional Illustrators Approach Food Sketching
Professional illustrators often start by observing the food item closely. They take note of the shape, color, texture, and how light interacts with the food. They then sketch a rough outline, gradually adding details and shading to give the sketch depth and realism. For example, when sketching an apple, they might start with a basic circle, then add the stem, the shadow, and the highlights to make it look three-dimensional.
-
- Successful Food Illustration Projects
There are numerous successful food illustration projects that can serve as inspiration. For instance, the ‘Edible Alphabet’ project by illustrator and designer Tommy Perez is a great example. Perez created a series of food illustrations for each letter of the alphabet, using actual food items as his medium. Another successful project is ‘The Illustrated Wok’, a cookbook that features illustrations of recipes from chefs around the world. Each recipe is accompanied by a beautiful illustration, making the book not just a cooking guide, but a work of art.
These case studies show that with the right techniques and a creative approach, food sketching can be a rewarding and fulfilling art form. So, grab your sketchbook and start exploring the world of food illustration!
Conclusion
-
- Recap of Key Takeaways: We’ve journeyed through the fascinating world of food illustration, learning about different sketching techniques and how to represent food artistically. We’ve discovered how to make dishes look mouthwatering in our illustrations and explored the realm of culinary illustrations. We’ve also delved into specific techniques for sketching food. Remember, the key to a great food illustration is to make it look as appetizing as possible. Use vibrant colors, pay attention to texture, and don’t forget to add those little details that make food look real!
- Encouragement for Continued Practice and Learning: Like any other art form, mastering food illustration takes time and practice. Don’t be disheartened if your first few attempts don’t turn out as you’d hoped. Keep practicing, keep learning, and most importantly, keep enjoying the process. Remember, every great artist was once a beginner. So, keep your sketchbook close, your pencils sharpened, and your mind open to learning. The world of food illustration is vast and exciting, and you’re just getting started. Happy sketching!