Introduction to Drawing for Beginners
Are you interested in learning how to draw? Drawing is a wonderful form of art that allows you to express your creativity. Whether you’re a complete beginner or looking to refine your skills, this guide will provide you with the basic knowledge you need to start your drawing journey.
-
Understanding the Basics of Drawing
Drawing is more than just making marks on a paper. It’s about observing the world around you, understanding shapes and spaces, and translating that onto a two-dimensional surface. The first step in learning to draw is understanding the basics. Here’s what you need to know:
- Shapes: Every object can be broken down into basic shapes. By learning to identify these shapes, you can simplify complex objects and make them easier to draw.
- Lines: Lines are the foundation of any drawing. They can be used to outline shapes, add detail, or create texture.
- Shading: Shading adds depth to your drawings, making them appear more three-dimensional. It involves varying the darkness of your lines to create the illusion of light and shadow.
-
Importance of Mastering Basic Drawing Techniques
Mastering basic drawing techniques is crucial for any beginner. These techniques form the foundation of your drawing skills, and without a strong foundation, it’s difficult to progress. Here’s why mastering the basics is so important:
- Improves Accuracy: Basic techniques help you draw more accurately. For example, understanding perspective allows you to draw objects as they appear in real life, not as you think they should look.
- Boosts Confidence: When you master the basics, you gain confidence in your abilities. This can motivate you to tackle more complex projects and continue improving your skills.
- Enhances Creativity: Once you have the basics down, you can start experimenting with different styles and techniques. This can lead to more creative and unique drawings.
Essential Drawing Tools for Beginners
When you’re starting your journey into the world of drawing, it’s important to have the right tools at your disposal. In this section, we’ll explore some of the most essential drawing tools for beginners and provide tips on how to choose the right ones for you.
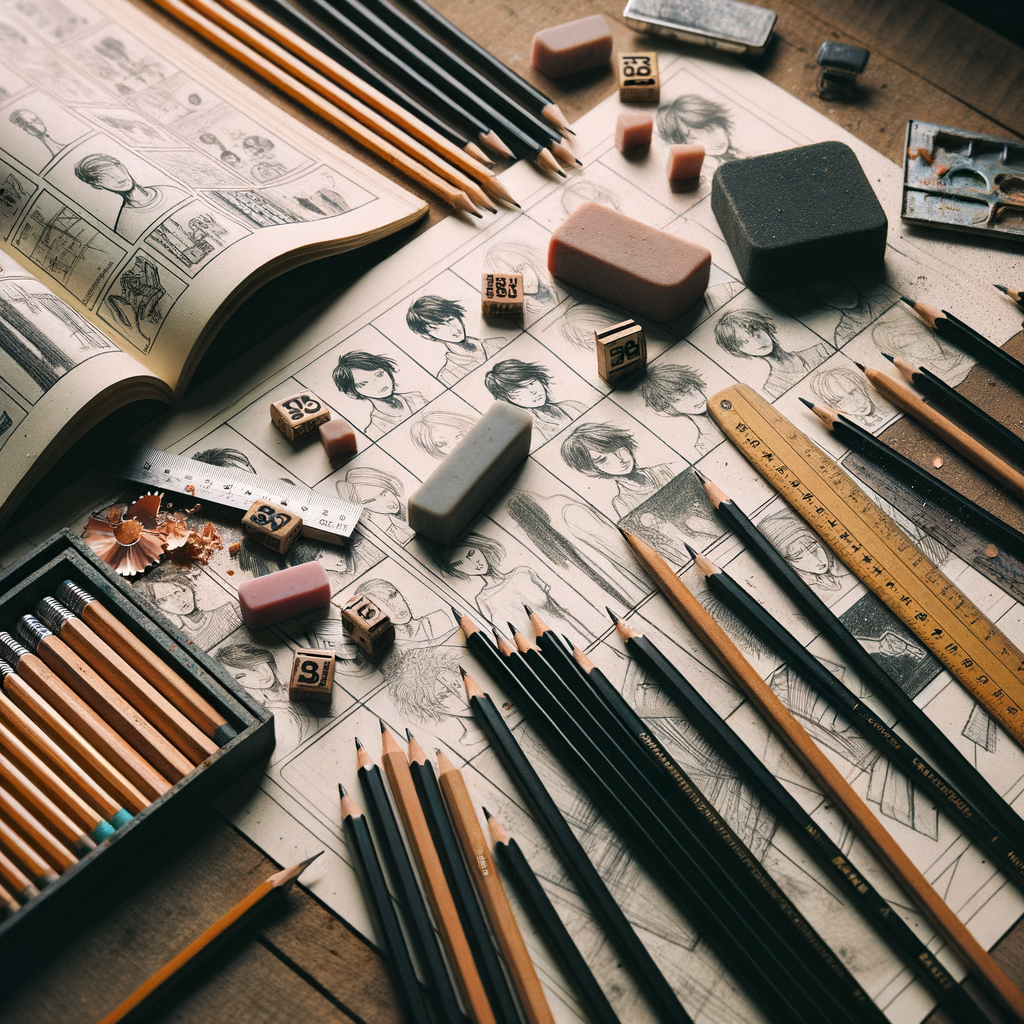
Choosing the Right Drawing Tools
Choosing the right drawing tools can make a significant difference in your drawing experience and the quality of your work. Here are some key factors to consider:
- Understanding different types of pencils: Pencils come in a variety of types, each with its own unique properties. The most common types are graphite pencils, which are great for both sketching and shading, and colored pencils, which are used for adding color to your drawings. Graphite pencils are graded based on their hardness and blackness. For example, a 2B pencil is softer and darker than a 2H pencil. Understanding these differences can help you choose the right pencil for your needs.
- Importance of a good quality eraser: A good quality eraser is an essential tool for any artist. It allows you to correct mistakes and make changes to your drawings. When choosing an eraser, look for one that is white or translucent, as these types do not leave colored smudges on your paper. Also, consider the size and shape of the eraser. A larger eraser is useful for erasing large areas, while a smaller, pointed eraser is great for detailed work.
- Choosing the right sketchbook: The sketchbook is where your ideas come to life. When choosing a sketchbook, consider the size, paper type, and binding. A larger sketchbook gives you more space to draw, but it may not be as portable as a smaller one. The paper type affects how your drawing tools interact with the page. For example, heavier paper is better for ink drawings, while lighter paper is suitable for pencil sketches. The binding of the sketchbook should allow it to lay flat when open, making it easier to draw.
Remember, the best drawing tools are the ones that feel right for you. Don’t be afraid to experiment with different tools until you find the ones that suit your style and needs.
Exploring Additional Art Tools for Beginners
As you continue your journey in the world of drawing, it’s essential to explore other art tools. These tools can add depth, texture, and a unique touch to your artwork. Let’s dive into some of these additional art tools that are perfect for beginners.
-
Introduction to Charcoal
Charcoal is a versatile and exciting drawing tool that can bring a new dimension to your art. It’s made from burnt wood, which gives it a rich, dark tone. This tool is perfect for creating bold lines and dramatic shading. Charcoal comes in two main types: vine and compressed. Vine charcoal is softer and easier to erase, while compressed charcoal is denser and produces darker lines.
Type of Charcoal Characteristics Vine Charcoal Soft, easy to erase, perfect for light sketching Compressed Charcoal Dense, produces darker lines, ideal for bold and dramatic drawings -
Understanding the Use of Pastels
Pastels are another great tool for beginners. They are essentially pigment in a stick form, similar to chalk. Pastels allow you to add vibrant colors to your drawings. They are perfect for creating soft, blended effects, and can be used on their own or in combination with other drawing tools. There are two main types of pastels: soft and oil. Soft pastels are easy to blend, while oil pastels are more vibrant and have a creamy texture.
Type of Pastel Characteristics Soft Pastels Easy to blend, perfect for creating soft effects Oil Pastels Vibrant, creamy texture, ideal for bold and colorful drawings -
Exploring the World of Watercolors
Watercolors are a wonderful way to add a splash of color to your drawings. They are paints that you mix with water to create a range of hues. Watercolors are perfect for creating light, delicate effects, and can add a dreamy quality to your artwork. They require a bit more practice to master, but the results can be stunning.
Remember, practice makes perfect. Don’t be afraid to experiment with these tools and find your unique style. Happy drawing!
Basic Drawing Techniques for Beginners
One of the most fundamental skills in drawing is mastering line drawing. This technique forms the foundation of all types of art and design. Let’s delve into the details of line drawing and how you can improve your skills.
Mastering Line Drawing
Line drawing is the simplest form of drawing, but it’s also the most important. It’s all about creating different shapes, forms, and textures using only lines. There are two main aspects to focus on when practicing line drawing.
-
- Understanding the importance of line quality
Line quality refers to the thickness or thinness of a line. It’s a crucial aspect of drawing because it can dramatically affect the overall look of your artwork. For example, a thick line can make an object look heavier or closer, while a thin line can make it appear lighter or farther away. Therefore, understanding and controlling line quality can give you more control over your drawings.
-
- Practicing different types of lines
There are many different types of lines that you can use in your drawings, each with its own unique effect. For example, straight lines can create a sense of stability and order, while curved lines can convey movement and fluidity. By practicing different types of lines, you can expand your drawing skills and create more varied and interesting artworks.
Remember, mastering line drawing takes time and practice. Don’t be discouraged if your lines aren’t perfect at first. Keep practicing, and you’ll see improvement over time. Happy drawing!
Understanding Shading and Texture
Shading and texture are two fundamental drawing techniques that can bring your artwork to life. They can add depth, dimension, and a sense of realism to your drawings. Let’s explore these techniques in detail.
- Introduction to Shading Techniques
Shading is a technique that allows you to create a sense of depth and volume in your drawings. It involves varying the intensity of your pencil strokes to create different tones, from light to dark. This can give your drawings a three-dimensional look, making them appear more realistic.
There are several shading techniques that you can use, including:
- Hatching: This involves drawing closely spaced parallel lines. The closer the lines, the darker the shade.
- Cross-hatching: This is similar to hatching, but you draw another set of lines going in a different direction on top of the first set.
- Stippling: This technique uses dots to create different shades. The closer the dots, the darker the shade.
- Creating Texture with Pencil Strokes
Texture is what gives a surface its specific physical feel or appearance. In drawing, texture is created by altering the smoothness or roughness of the surface with your pencil strokes. By varying the pressure, direction, and density of your strokes, you can create a wide range of textures, from the smoothness of a glass to the roughness of a tree bark.
Here are some tips to create texture in your drawings:
- Vary your pencil pressure: Pressing harder will create darker, more defined lines, while lighter pressure will create softer, less defined lines.
- Change the direction of your strokes: Different directions can suggest different textures. For example, vertical lines might suggest a tree trunk, while horizontal lines might suggest water.
- Use different types of pencils: Different pencils can create different textures. For example, a softer pencil (like a 2B or 4B) can create a smoother texture, while a harder pencil (like a H or 2H) can create a rougher texture.
Mastering shading and texture techniques can greatly enhance your drawing skills. Practice these techniques regularly to improve your ability to create depth, volume, and realism in your drawings.
Developing Your Drawing Skills
Improving your drawing skills is a journey that requires dedication, patience, and most importantly, practice. In this section, we will discuss the importance of practicing regularly and how to set up a practice schedule that works for you.
Practicing Regularly
Practicing regularly is a crucial part of developing your drawing skills. It’s not just about drawing more; it’s about drawing smarter and with purpose.
-
- Importance of regular practice in improving drawing skills
Regular practice is the key to improving your drawing skills. It helps you to understand the basics of drawing and gradually improve your technique. Each time you draw, you are training your hand to move in certain ways, and your eyes to see in a certain way. According to a study, it takes about 10,000 hours of practice to master a skill. So, the more you practice, the better you’ll get.
-
- Setting up a practice schedule
Setting up a practice schedule can help you stay consistent and make steady progress. Here’s a simple way to do it:
-
- Decide how many hours you want to practice each week. It could be as little as 1 hour or as much as 20, depending on your availability and commitment.
- Break down your weekly goal into daily sessions. For example, if you want to practice 10 hours a week, you could practice for 2 hours a day for 5 days.
- Choose a specific time of day to practice. This could be early in the morning, during lunch breaks, or in the evening. The key is to choose a time when you can focus without distractions.
- Stick to your schedule. Consistency is key. Even if you don’t feel like it, push yourself to practice. Over time, it will become a habit.
The goal of practicing regularly is not to create perfect drawings every time, but to improve your skills and enjoy the process of drawing. So, keep practicing and enjoy your journey of becoming a better artist.
Learning from Others
As you continue to develop your drawing skills, it’s important to remember that learning is a journey, not a destination. One of the most effective ways to improve is by learning from others. This can be done in two main ways: joining an art community and learning from online tutorials and classes.
-
- Benefits of Joining an Art Community
Joining an art community can be a game-changer for your drawing skills. Here’s why:
-
-
- Feedback and Critique: In an art community, you can share your work and receive constructive feedback from other artists. This can help you identify areas of improvement that you might have missed.
- Inspiration: Seeing the work of others can spark new ideas and inspire you to try different techniques or styles.
- Support: Art communities are often supportive environments where you can share your struggles and successes. This can be incredibly motivating, especially when you’re facing challenges.
- Learning from Online Tutorials and Classes
-
Online tutorials and classes are another great way to learn from others. Here are some benefits:
-
- Convenience: You can learn at your own pace, in your own time. This flexibility makes it easier to fit learning into your schedule.
- Variety: There’s a wealth of online resources available, covering a wide range of techniques and styles. This means you can always find something new to learn.
- Expertise: Many online tutorials and classes are taught by experienced artists who can provide valuable insights and tips.
Learning from others is a powerful way to develop your drawing skills. Whether you choose to join an art community or learn from online tutorials and classes, you’ll be gaining valuable knowledge and insights that can help you improve. So don’t be afraid to reach out, share your work, and learn from the experiences of others. Remember, every artist was once a beginner, and every expert has something to learn.
Conclusion: Starting Your Drawing Journey
As we wrap up this comprehensive guide for beginners, let’s take a moment to reflect on what we’ve learned and look forward to the exciting journey that lies ahead in the world of drawing.
- Recap of essential drawing tools and techniques for beginners
Remember, the essential tools for drawing include pencils of different hardness, erasers, a sketchbook, and a sharpener. Each tool has its unique role in creating a masterpiece. For instance, softer pencils are great for shading, while harder ones are perfect for detailed work.
As for techniques, we’ve discussed several, including shading, hatching, cross-hatching, and stippling. These techniques can help you add depth and texture to your drawings. But remember, the key is to practice. The more you draw, the better you’ll get at using these techniques effectively.
- Encouragement for continuous learning and practice
Embarking on your drawing journey may seem daunting at first, but remember that every great artist started somewhere. It’s okay to make mistakes. In fact, mistakes are part of the learning process. They help you understand what works and what doesn’t.
Keep practicing and never stop learning. Explore different styles, experiment with various techniques, and don’t be afraid to step out of your comfort zone. Remember, the journey of drawing is not a race, but a marathon. It’s about continuous growth and improvement.
As the famous artist Vincent Van Gogh once said, “I am always doing what I cannot do yet, in order to learn how to do it.” So, keep drawing, keep learning, and most importantly, enjoy the process!
Now, go ahead and start your drawing journey. The world is your canvas, and you are the artist. Happy drawing!