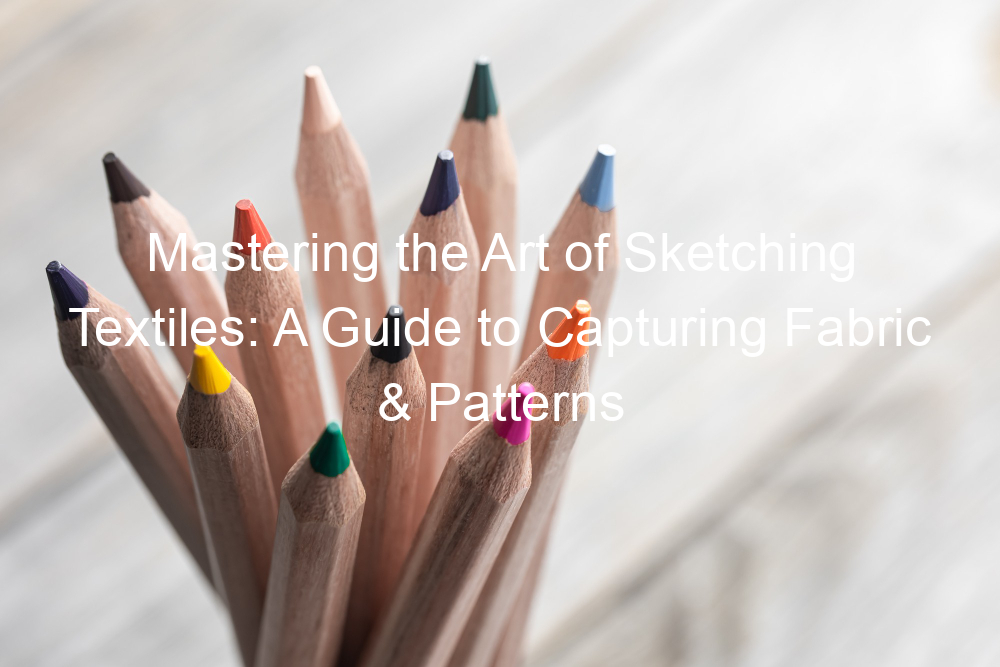
Introduction to Textile Sketching
Textile sketching is a fascinating world where art and fashion intertwine. It is a fundamental skill for anyone interested in textile design. This article will guide you through the basics of textile sketching and highlight its importance in the field of textile design.
- Understanding the Basics of Textile Sketching
Textile sketching, also known as fabric drawing, is the process of creating a visual representation of a textile design. This is usually done on paper using various drawing tools such as pencils, pens, and markers. The goal is to accurately depict the texture, pattern, and color of the fabric.
Textile sketching is not just about drawing, but also about understanding fabrics. You need to know how different fabrics behave, how they fold, how they reflect light, and how they interact with different colors. This knowledge will help you create more realistic and accurate sketches.
Learning to sketch textiles can be challenging, but with practice, anyone can master it. Start by observing different fabrics and trying to replicate them on paper. Experiment with different drawing techniques and tools, and don’t be afraid to make mistakes. Remember, every great artist started as a beginner.
- Importance of Sketching in Textile Design
Sketching is an essential part of the textile design process. It allows designers to visualize their ideas and communicate them to others. Without sketches, it would be difficult for manufacturers to understand what the designer has in mind.
Sketching also helps designers experiment with different ideas before committing to a final design. They can easily change the colors, patterns, or textures in a sketch, saving time and resources in the production process.
Moreover, sketching is a great way to showcase your creativity and talent. A well-executed sketch can impress clients and employers, opening up more opportunities for you in the textile industry.
Textile sketching is a valuable skill that can enhance your textile design career. Whether you’re a beginner or a seasoned professional, it’s never too late to improve your sketching skills.
Getting Started with Fabric Drawing
As you embark on your journey into the world of fabric drawing, one of the first steps is to choose the right materials. This includes selecting the appropriate sketching tools and understanding the different types of fabrics and their textures.
Choosing Your Materials
Choosing the right materials is a crucial step in fabric drawing. The tools you use and the fabric you draw on can significantly impact the final result of your artwork. Let’s delve into the specifics.
- Choosing the right sketching tools for textiles: The choice of sketching tools largely depends on the type of fabric you’re working with and the desired outcome. For instance, fabric markers and fabric crayons are excellent for bold and vibrant designs, while fabric pencils are ideal for intricate details. It’s also important to consider the thickness and texture of the fabric when choosing your sketching tools. For example, a fine-tip marker might not show up well on a thick, textured fabric.
- Understanding different types of fabrics and their textures: Fabrics come in a variety of types and textures, each with its own unique properties. Cotton, for instance, is a versatile fabric that’s easy to draw on and holds color well. On the other hand, silk is a delicate fabric that requires a gentle touch and specific tools to prevent damage. Understanding the characteristics of different fabrics can help you choose the right tools and techniques for your fabric drawing projects.
The right materials can make a significant difference in your fabric drawing journey. By understanding the properties of different fabrics and choosing the right sketching tools, you can create beautiful and unique textile art.
Setting Up Your Workspace
Before you can start sketching textiles, it’s vital to set up your workspace correctly. An organized workspace can significantly improve your sketching efficiency and creativity. Let’s explore how you can organize your workspace and consider the environmental factors that can impact your sketching process.
-
- Organizing your workspace for effective sketching
Organizing your workspace is a crucial step in preparing for effective sketching. Start by ensuring that all your sketching tools are within easy reach. This includes your pencils, erasers, rulers, and any other tools you might need. A clean and clutter-free workspace can help you focus better on your work. You might also want to consider getting a desk organizer to keep your tools sorted and easy to find.
-
- Lighting and other environmental considerations
Lighting plays a significant role in sketching. Natural light is the best for sketching as it provides the most accurate representation of colors. However, if you’re sketching at night or in a room without sufficient natural light, consider getting a desk lamp with a daylight bulb. This type of light bulb mimics natural light and is easier on your eyes.
Other environmental factors to consider include room temperature and noise level. A comfortable room temperature and a quiet environment can help you concentrate better on your work. If you find noise distracting, consider getting a pair of noise-canceling headphones.
It also includes creating a comfortable and conducive environment for work. With the right setup, you can improve your sketching skills and create beautiful textile designs.
Mastering Sketching Techniques for Textiles
Sketching techniques are the foundation of textile design. They allow designers to express their ideas and concepts visually. This section will cover some basic sketching techniques that are essential for textile design.
Basic Sketching Techniques
Here are two basic sketching techniques that every textile designer should master:
-
- Understanding line, shape, and form in textile sketching
Line, shape, and form are the basic elements of any design. In textile sketching, these elements are used to depict the texture, pattern, and structure of the fabric.
A line is the path between two points. It can be straight, curved, or any other shape. Lines can be used to create shapes, which are closed lines. Shapes can be geometric (like squares and circles) or organic (like the shapes of leaves or flowers).
Form refers to the three-dimensional aspect of the design. It gives depth and perspective to the sketch. In textile sketching, form is often suggested by shading and perspective drawing techniques.
-
- Mastering shading techniques for capturing fabric textures
Shading is a technique used to depict light and shadow. It gives depth and volume to the sketch, making the fabric appear more realistic.
There are several shading techniques, such as hatching, cross-hatching, stippling, and blending. Hatching involves drawing parallel lines close together, while cross-hatching involves drawing intersecting sets of parallel lines. Stippling involves making tiny dots, and blending involves smoothing out the pencil marks to create a gradient effect.
By mastering these shading techniques, you can effectively capture the texture of different types of fabrics, from the smoothness of silk to the roughness of wool.
Mastering these basic sketching techniques is the first step towards becoming a successful textile designer. Practice these techniques regularly to improve your skills and develop your unique style.
Advanced Sketching Techniques
Now that we’ve covered the basics, let’s dive into some advanced sketching techniques. These methods will help you add more depth and life to your textile sketches. They might seem a bit tricky at first, but with practice, you’ll master them in no time.
- Using color effectively in textile sketches
Color is a powerful tool in textile sketching. It can make your designs pop and give them a unique personality. But using color effectively requires a bit of knowledge and practice.
First, you need to understand the color wheel. It’s a circular diagram of colors that shows how they relate to each other. For example, colors that are opposite each other on the wheel are called complementary colors. They look great together and can make your sketches more vibrant.
Next, think about the mood you want to convey. Warm colors like red, orange, and yellow can create a sense of excitement or warmth. Cool colors like blue, green, and purple can give a calming or soothing effect.
Finally, don’t forget about the value of color – how light or dark it is. Playing with value can add depth and dimension to your sketches.
- Creating depth and dimension in fabric drawings
Creating depth and dimension in your fabric drawings can make them look more realistic. Here are a few techniques to help you achieve this:
- Shading: This is a technique where you use different tones of color to create a sense of depth. The darker the shade, the deeper the part of the fabric appears.
- Highlighting: This is the opposite of shading. You use lighter tones to make parts of the fabric stand out. It’s like adding a spotlight to those areas.
- Texture: Adding texture can make your fabric look more realistic. You can do this by using different types of lines or marks. For example, you might use short, choppy lines for a rough fabric or smooth, flowing lines for a silky one.
Remember, practice makes perfect. So, keep experimenting with these techniques until you’re happy with the results. Happy sketching!
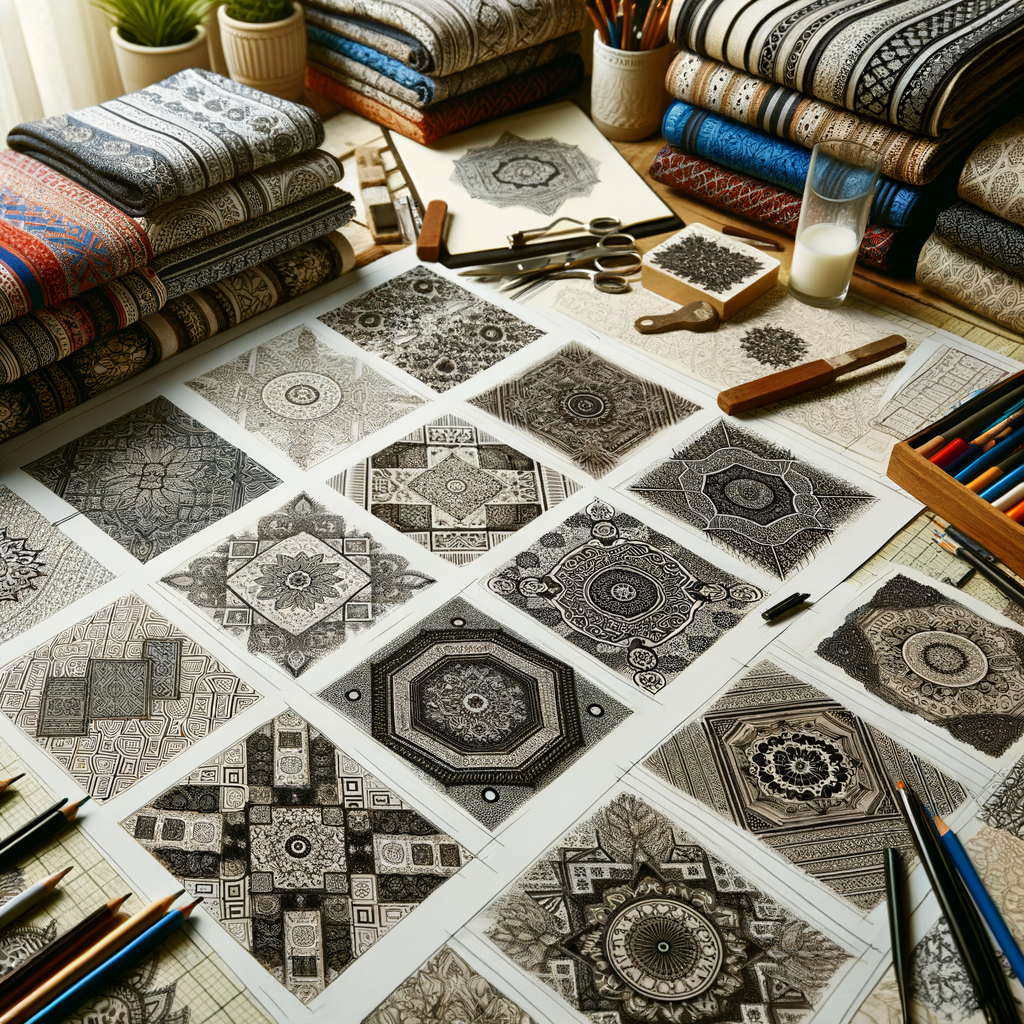
Drawing Fabric Patterns
One of the most exciting parts of textile art is the creation of fabric patterns. These patterns can bring a piece of fabric to life, adding depth, texture, and visual interest. Let’s delve into the world of pattern design and explore how you can create your own unique fabric patterns.
Understanding Pattern Design
Pattern design is a fundamental aspect of textile art. It involves creating repetitive or decorative designs that can be printed or woven onto fabric. These designs can range from simple geometric shapes to complex organic forms, all depending on the artist’s vision and creativity. Let’s examine the basics of pattern design and learn how to draw different types of patterns on fabric.
-
- Basics of pattern design in textile art
Pattern design in textile art is all about repetition and rhythm. It involves creating a design element and repeating it in a systematic way to form a pattern. This can be done using various techniques such as block printing, screen printing, or digital printing. The key is to maintain consistency in the design elements to create a harmonious pattern.
-
- How to draw geometric and organic patterns on fabric
When it comes to drawing patterns on fabric, there are two main types to consider: geometric and organic. Geometric patterns are made up of regular shapes and lines, such as squares, circles, or triangles. These patterns are often symmetrical and can create a sense of order and balance.
On the other hand, organic patterns are inspired by nature and can include elements such as leaves, flowers, or animals. These patterns are often asymmetrical and can create a sense of movement and spontaneity. To draw these patterns, start by sketching your design on paper, then transfer it onto the fabric using a fabric marker or chalk. Once you’re satisfied with your design, you can use fabric paint or dye to fill in the pattern.
Remember, the key to successful pattern design is practice. Don’t be afraid to experiment with different designs and techniques until you find what works best for you. Happy designing!
Creating Your Own Patterns
Creating your own textile patterns can be a fun and rewarding experience. It allows you to express your creativity and make something truly unique. Here, we will discuss the steps to creating original textile pattern sketches and how to experiment with color and texture in pattern design.
-
- Steps to creating original textile pattern sketches
Creating original textile pattern sketches involves a few key steps. First, you need to decide on a theme or concept for your pattern. This could be anything from nature to geometric shapes. Once you have a theme, start sketching out your ideas on paper. Don’t worry about making it perfect at this stage, just get your ideas down.
Next, refine your sketches. This is where you can start to add details and make your pattern more complex. Finally, transfer your sketch to fabric. This can be done using a variety of methods, such as painting, printing, or embroidery.
-
- Experimenting with color and texture in pattern design
Color and texture are two important elements in pattern design. They can greatly affect how your pattern is perceived. For example, bright colors can make a pattern seem more vibrant and energetic, while muted colors can give it a more subtle and calming feel.
Texture, on the other hand, can add depth and interest to your pattern. You can experiment with different textures by using different materials or techniques. For instance, you could use thick, heavy threads for embroidery to create a raised, textured effect.
By following these steps and experimenting with color and texture, you can create beautiful and original designs.
Capturing Textile Patterns: Case Studies
In this section, we will explore real-life examples of how artists have successfully captured the essence of different textile patterns in their work. Our first case study focuses on the delicate and luxurious texture of silk.
Case Study 1: Capturing the Texture of Silk
Silk, known for its smoothness and sheen, presents a unique challenge for artists. Let’s delve into how one can capture its unique characteristics and sketch its texture effectively.
- Understanding the unique characteristics of silk: Silk is a natural fiber that is known for its lustrous sheen and smooth texture. It’s important to note that silk reflects light, which gives it a unique glow. This is a key characteristic that needs to be captured when sketching silk.
- Sketching techniques for capturing the sheen and smoothness of silk: To capture the sheen of silk, artists often use a technique called ‘blending’. This involves using a blending stump or a soft cloth to smooth out the graphite or charcoal on the paper, creating a shiny effect. For the smoothness, artists use light, even strokes and avoid heavy lines. It’s also crucial to pay attention to the way silk drapes and folds, as this can greatly affect its appearance.
By understanding the unique characteristics of silk and using appropriate sketching techniques, artists can effectively capture the texture of this luxurious fabric in their work.
Case Study 2: Drawing the Pattern of a Paisley Shawl
Our second case study focuses on the intricate and beautiful paisley patterns often found on shawls. This section will guide you through understanding the complexity of these patterns and the steps to sketching a detailed paisley pattern.
- Understanding the complexity of paisley patterns
The paisley pattern, originating from ancient Persia, is characterized by its teardrop-shaped motif with a curved upper end. Although it may look simple at first glance, the paisley pattern is a complex design that requires careful attention to detail.
Each paisley pattern is unique, with variations in size, detail, and arrangement. Some patterns are filled with intricate designs, while others are more simplistic. The complexity of the paisley pattern lies in its versatility and the level of detail that can be incorporated into each motif.
- Steps to sketching a detailed paisley pattern
Sketching a detailed paisley pattern involves several steps. Here is a simplified process to help you get started:
- Outline: Start by sketching the basic shape of the paisley pattern. This is typically a teardrop or almond shape.
- Detailing: Once you have your basic shape, you can start adding details. This could include smaller shapes within the paisley, intricate lines, or patterns.
- Shading: After detailing, add shading to give your pattern depth and dimension. This can be done using different sketching techniques.
- Repetition: The final step is to replicate your pattern. Paisley patterns are usually repeated in a specific arrangement to create a larger design.
Remember, practice makes perfect. The more you sketch, the more comfortable you will become with drawing intricate paisley patterns. Happy sketching!
Conclusion: The Art of Illustrifying Textiles
As we conclude our journey into the world of textile sketching, it’s important to reflect on the key takeaways and the importance of practice and experimentation in this art form.
-
- Recap of key takeaways in mastering textile sketching
Throughout this guide, we’ve explored the fundamentals of textile sketching, from understanding the basics to mastering advanced techniques. We’ve learned that the art of illustrating textiles requires a keen eye for detail, an understanding of different fabric types, and the ability to capture the unique characteristics of each textile in our sketches.
One of the key insights we’ve gained is that drawing fabric patterns is not just about replicating what we see. It’s about interpreting and expressing the texture, the drape, and the way light interacts with the fabric. This requires a deep understanding of the principles of light and shadow, form and structure, and color theory.
-
- The importance of practice and experimentation in textile art
Like any other art form, mastering textile sketching requires consistent practice and a willingness to experiment. It’s through practice that we improve our observation skills, refine our techniques, and develop our unique style. And it’s through experimentation that we discover new ways of expressing our artistic vision.
Remember, every artist was once a beginner. Don’t be discouraged if your early sketches don’t meet your expectations. Keep practicing, keep experimenting, and most importantly, keep enjoying the process. As the famous artist Vincent Van Gogh once said, “I am always doing what I cannot do yet, in order to learn how to do it.”
It’s a journey of observation, understanding, practice, and experimentation. And like any journey, it’s not about the destination, but about the experiences, the discoveries, and the joy of the journey itself.