
Introduction to Celestial Art
-
Definition of Celestial Art
Celestial art is a form of artwork that focuses on the beauty and mystery of the night sky. This includes stars, planets, and other celestial bodies. Artists use various techniques to capture the wonders of the universe.
-
History and Evolution of Celestial Art
Celestial art has a rich history. Ancient civilizations like the Egyptians and Greeks created art based on the stars. Over time, artists have developed new methods and tools to depict the night sky more accurately.
In the Renaissance, artists like Galileo used telescopes to study the stars. This led to more detailed and realistic celestial art. Today, modern technology allows artists to create stunning digital representations of the cosmos.
Getting Started with Night Sky Drawing
Materials Needed for Night Sky Drawing
Before you begin drawing the night sky, it’s important to gather the right materials. Having the proper tools will make your artwork more enjoyable and successful.
- Choosing the Right Sketchbook
Selecting a good sketchbook is the first step. Look for one with thick, smooth paper. This type of paper works well with different drawing tools and won’t tear easily. A size of 9×12 inches is a good choice because it’s large enough to capture details but still easy to carry.
- Recommended Drawing Tools
Next, you’ll need the right drawing tools. Here are some recommendations:
| Tool | Description |
|---|---|
| Pencils | Use a range of pencils from HB to 6B for different shades. |
| Erasers | A kneaded eraser is great for lightening areas without leaving residue. |
| Blending Stumps | These help to smooth out pencil lines and create soft shadows. |
| White Gel Pen | Perfect for adding stars and highlights. |
Having these materials will set you up for success in your night sky drawing journey. Remember, the right tools can make a big difference in your artwork.
Setting Up Your Drawing Environment
-
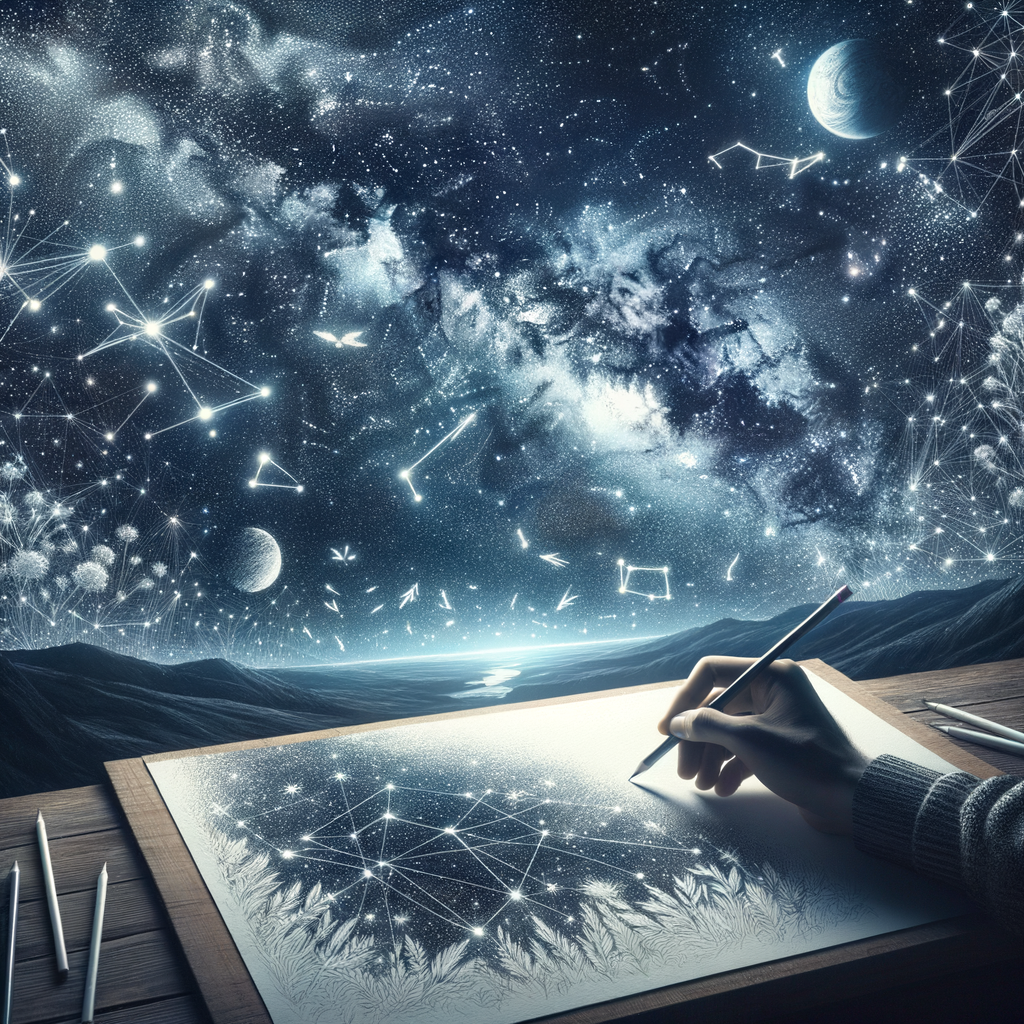
Finding a Suitable Location
Choosing the right place to draw is very important. You need a spot where you can see the night sky clearly. A good location is away from city lights. This helps you see the stars better.
Many artists like to go to parks or open fields. These places are usually dark and quiet. If you live in a city, try to find a rooftop or a balcony. Just make sure it is safe and you have permission to be there.
Remember, the darker the place, the more stars you will see. This makes your drawing more detailed and beautiful.
-
Setting Up Your Workspace
Once you have found the perfect spot, it’s time to set up your workspace. Bring a comfortable chair or a blanket to sit on. You will be sitting for a while, so comfort is key.
Make sure you have all your drawing tools ready. This includes your sketchbook, pencils, and erasers. A small table or a drawing board can be very helpful. It gives you a flat surface to draw on.
Lighting is also important. Use a small, dim light so you can see your paper without ruining your night vision. A headlamp with a red light is a great choice. It helps you see your work without affecting your view of the stars.
Lastly, dress warmly. Nights can get cold, especially when you are sitting still. Bring a jacket, hat, and gloves to stay warm and comfortable.
Starry Sky Sketching Techniques
Basic Techniques for Sketching Stars
-
Understanding Star Patterns
To draw stars, you first need to know star patterns. These patterns are groups of stars that form shapes in the sky. They are called constellations. Some famous constellations are the Big Dipper and Orion. Learning these patterns helps you draw the night sky accurately.
Constellation Shape Big Dipper Spoon Orion Hunter -
Techniques for Drawing Stars
Once you know the star patterns, you can start drawing stars. Here are some tips:
- Start with Dots: Use small dots to mark where the stars will go.
- Connect the Dots: Draw lines between the dots to form the constellation shapes.
- Add Details: Make some stars bigger to show they are brighter.
Remember, practice makes perfect. The more you draw, the better you will get.
Advanced Techniques for Sketching the Night Sky
-
Creating Depth in Your Sky
To make your night sky look real, you need to create depth. Depth makes your drawing look like it has layers. Here are some tips:
- Use Different Shades: Start with a light shade for the background. Then, add darker shades for the foreground. This makes the sky look deep.
- Blend Colors: Use a blending tool or your finger to mix colors. This helps create a smooth transition between shades.
- Add Layers: Draw multiple layers of stars and clouds. This gives your sky a 3D effect.
For example, you can start with a light blue base. Then, add darker blue and black for the night sky. Finally, blend these colors to create a seamless look.
-
Adding Details to Your Stars
Details make your stars stand out. Here’s how you can add details:
- Vary Star Sizes: Draw stars of different sizes. This makes your sky look more natural.
- Use White Gel Pens: White gel pens are great for adding tiny, bright stars.
- Highlight with Colors: Add a touch of yellow or blue to some stars. This gives them a glowing effect.
For instance, you can draw big stars with a pencil. Then, use a white gel pen to add smaller stars around them. Finally, add a bit of color to make some stars glow.
| Technique | Tip |
|---|---|
| Creating Depth | Use different shades and blend colors. |
| Adding Details | Vary star sizes and use white gel pens. |
How to Draw Planets and Other Celestial Bodies
Sketching Planets
Drawing planets can be a fun and rewarding experience. Let’s start with the basics and then add some amazing details to make your planets look realistic.
-
Drawing Spherical Shapes
Begin by drawing a simple circle. This will be the base shape of your planet. You can use a compass or trace around a round object to get a perfect circle.
Next, add some shading to give your planet a three-dimensional look. Imagine where the light is coming from and shade the opposite side of the circle. This will make your planet look like a real sphere.
-
Adding Details to Your Planets
Now that you have the basic shape, it’s time to add details. Think about what kind of planet you are drawing. Is it rocky like Mars, or does it have rings like Saturn?
For a rocky planet, draw some craters and mountains. You can make them by adding small circles and triangles on the surface. Shade them to give depth.
If your planet has rings, draw them around the circle. Make sure the rings are slightly tilted to give a realistic effect. You can also add some moons orbiting your planet.
| Step | Description |
|---|---|
| 1 | Draw a circle to form the base shape of your planet. |
| 2 | Shade one side of the circle to create a three-dimensional effect. |
| 3 | Add craters, mountains, or rings based on the type of planet. |
| 4 | Include additional details like moons or atmospheric patterns. |
Remember, practice makes perfect. Keep sketching different planets and soon you’ll be an expert at drawing celestial bodies!
Sketching Comets and Asteroids
-
Understanding the Shape and Structure of Comets and Asteroids
Comets and asteroids are fascinating celestial bodies. Comets are made of ice, dust, and small rocky particles. They often have a bright head and a glowing tail. Asteroids, on the other hand, are rocky and do not have tails.
Here is a table to help you understand their differences:
Feature Comets Asteroids Composition Ice, dust, rocky particles Rock and metal Appearance Bright head, glowing tail Rocky, no tail Location Outer solar system Asteroid belt -
Techniques for Drawing Comets and Asteroids
When drawing comets, start with a round head. Add a long, glowing tail that trails behind. Use light strokes to show the tail’s glow. For asteroids, draw irregular shapes. They often look like lumpy rocks.
Here are some tips:
- Comets: Use soft pencils for the tail.
- Asteroids: Add shadows to show their rocky texture.
Remember, practice makes perfect. Keep sketching and observing the night sky!
Integrating Astronomy Art and Astrophotography
Understanding Astrophotography
Astrophotography is a special type of photography that captures images of the night sky. It combines the beauty of the stars with the art of photography.
- Basics of Astrophotography
Astrophotography involves taking pictures of celestial objects like stars, planets, and galaxies. You need a camera, a tripod, and sometimes a telescope. The key is to use long exposure times to capture the faint light from these distant objects.
Equipment Purpose Camera To capture images Tripod To keep the camera steady Telescope To zoom in on celestial objects - How Astrophotography Can Enhance Your Celestial Art
Using astrophotography can make your celestial art more detailed and accurate. You can use photos as references to draw stars, planets, and galaxies more precisely. This helps in creating realistic and stunning artwork.
For example, you can take a photo of the Orion Nebula and use it to draw the nebula’s intricate details. This adds depth and realism to your art.
Applying Astrophotography Techniques to Your Drawings
-
Using Photographs as Reference
Astrophotography captures stunning images of the night sky. These photos can be a great help for your drawings. By using them as references, you can add more detail and accuracy to your celestial art.
Example: If you want to draw the Orion Nebula, find a clear photo of it. Notice the colors, shapes, and patterns in the photo. This will help you make your drawing more realistic.
Photograph Details to Note Orion Nebula Colors, star patterns, gas clouds Milky Way Star density, light streaks, dark patches -
Translating Photos into Sketches
Once you have your reference photo, the next step is to translate it into a sketch. Start by outlining the main shapes and structures. Don’t worry about the details yet.
Tip: Use light pencil strokes at first. This way, you can easily erase and adjust as needed.
After outlining, begin to fill in the details. Look closely at the photo and try to mimic the textures and shades you see. This will make your sketch come to life.
“The best way to improve your drawing is to practice with real images.” – Art Expert
Conclusion: The Art of the Night Sky
Drawing the night sky is a wonderful way to connect with the universe. It combines art and science, making it a unique hobby. Let’s review what we’ve learned.
- Recap of Night Sky Drawing Techniques
- Final Thoughts on Celestial Art
We started with the basics of celestial art. You learned how to sketch stars and constellations. We also covered how to draw planets and other celestial bodies. Remember to use light strokes and build up your drawing slowly.
Celestial art is more than just drawing. It’s about understanding the universe. As you practice, you’ll get better at capturing the beauty of the night sky. Keep looking up and let the stars inspire you.
| Key Points | Details |
|---|---|
| Starry Sky Sketching | Use light strokes and build up slowly. |
| Drawing Planets | Focus on shapes and shading. |
| Integrating Photography | Combine your sketches with photos for a unique look. |
In conclusion, the art of the night sky is a rewarding hobby. It helps you see the world in a new way. Keep practicing, and you’ll create beautiful celestial art.